GoDaddy Smart Terminal Flex onboarding guide
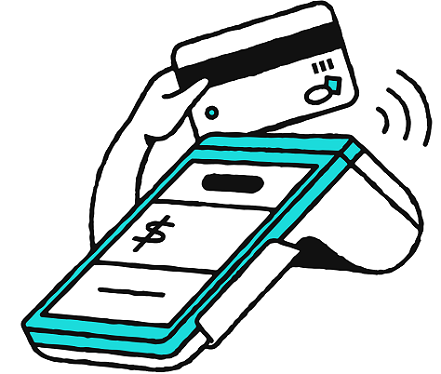
Once you’ve set up GoDaddy Payments, use a GoDaddy Smart Terminal Flex point-of-sale device to easily process in-person transactions. Create and process orders, receive payouts, create or sync your product catalog, view your transaction history, and more. You can even connect additional accessories, like a printer, and subscribe to a variety of third-party apps to tailor your system to your specific business needs.
If you’ve been using a different POS system, you already know they’re a valuable tool for in-person sales and you’re probably familiar with the basics. GoDaddy Payments is only compatible with GoDaddy point of sale (POS) devices – so if you want to process payments with GoDaddy Payments, you’ll need to switch to a compatible Smart Terminal. But don’t worry. Onboarding is intuitive and you’ll have access to all the features you need to support your business.
This guide will walk you through the end-to-end setup process, including how to order and set up your Smart Terminal Flex, add your product catalog, locate useful reports and third-party apps, and – most importantly – process customer transactions. Ready to get started? Let’s dive in!

The basics
Still deciding? Or just want to learn more about your new Smart Terminal before jumping in? Learn how the Smart Terminal can support your in-person sales:
Expand forHide more info
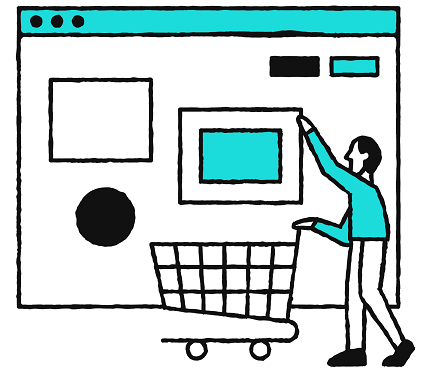
- Add or import products to the Smart Terminal. If you already manage products through an online Websites + Marketing, Managed Ecommerce for WordPress or Managed Hosting for WooCommerce store, sync your existing store catalog to the Smart Terminal to maintain all of your inventory in one place.
- Pre-define specific tax rates, discounts or fees to apply during the order process.
- Connect your device online via Wi-Fi or cellular network.
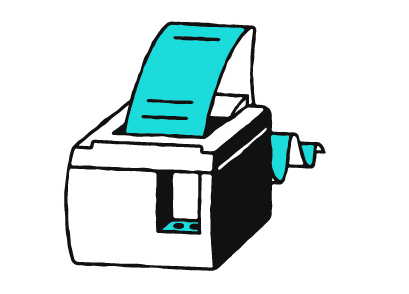
- Add accessories (like a printer or cash drawer) via Bluetooth or ethernet connections.
- Customize your device’s functionality with a variety of apps designed to help you manage your business, like timeclock tracking and loyalty programs. Many apps include a free trial, so you can try them out before subscribing.
- Tailor your Smart Terminal screen and receipts to let your customers decide how they receive a receipt (email, paper or text) and increase visibility for your company logo and info.
- Buy online and pick-up in store (BOPIS) capability – especially valuable for omni-commerce sellers! Your customers can order through your website, then pay in person via pickup or local delivery.
- Access everything in one place. With GoDaddy Payments, you’ll have one dashboard to review all reports and transactions, create Online Pay Links, access the Virtual Terminal, and manage your account and devices.
- Subscribe to the Point of Sale Plus plan to lower transaction fees, add unlimited products to your Smart Terminal, set up an online order storefront and more.
|

1: Set up your Smart Terminal Flex
Purchase the Smart Terminal Flex and complete the first-time setup. This is also a good time to explore the GoDaddy Payments dashboard so you're ready to go when the Smart Terminal arrives.
Expand forHide more info
|
The Smart Terminal Flex is competitively priced, and we also offer installment payments through Klarna. This can be a great option if you’re just getting started with your new business. Free 2-day shipping is included with every order, so you’ll be up and running in no time!
Actions to take:
- Purchase your Smart Terminal. Order the Smart Terminal Flex through your GoDaddy Payments dashboard. [Estimated time to complete: 5 minutes, plus 2 business days for delivery]
- Complete first-time setup. When your Smart Terminal arrives, complete the one-time setup process. [Estimated time to complete: 1 hour to charge, 10 minutes to set up]
Recommended:
- Explore your GoDaddy Payments Dashboard. While you're waiting for your Smart Terminal to arrive, learn more about what you can do with GoDaddy Payments and tour your Dashboard. [Estimated time to complete: 10 minutes]
- Learn about available payment methods. With GoDaddy Payments, you can offer your customers lots of different ways to pay — both online and in-person. Familiarize yourself with payment options beyond the Smart Terminal: [Estimated time to complete: 20 minutes]
- Create an Online Pay Link that you can share through email and social media.
- Manually enter credit card info in the Virtual Terminal. This is useful when you don't have a physical card available, like for over-the-phone payments.
- Download the GoDaddy Commerce app and try out Tap to Pay on iPhone or Android. You can even create a single use QR Code for your in-person customers. The app is a great option when you need to be a bit more mobile.
- Get ready to get paid! Your payout is the amount that's deposited into your bank account each business day. Review individual payouts, run a larger Payouts Report for a specified date range, get to know your payout scheduling options and set your Close of Day time (the daily cut-off time when transactions are collated). [Estimated time to complete: 15 minutes]
|
2: Learn your way around
Explore the Smart Terminal interface and check out the new areas of your GoDaddy Payments dashboard.
Expand forHide more info
|
The Smart Terminal is preloaded with apps that you'll use to process transactions, manage your product catalog, and keep tabs on your orders and payouts. You can also customize your device and manage your catalog through the GoDaddy Payments dashboard in your web browser.
Actions to take:
|
3: Set up your product catalog
Create or import your store catalog and product list, either through the web browser or directly on the Smart Terminal Flex.
Expand forHide more info
|
Your products are an important part of your store. Add products to your store catalog to quickly create orders on the Smart Terminal for your in-person customers. You can sort products into specific categories and add item-specific details, like modifications or discounts.
If you've already got a product catalog set up through Websites + Marketing or Managed Hosting for WooCommerce, you're already almost there! Just import your existing catalog and sync your inventory levels with the Smart Terminal. No need to set it up again.
Actions to take:
- Create your product catalog. Create a product catalog for your Smart Terminal. (It's usually easiest to do this in your web browser.) [Estimated time to complete: 5 minutes]
- Add products to your catalog. Add products individually, bulk upload them or import them from your existing online store. Importing products from your Websites + Marketing store will also sync inventory levels between online and in-person sales. [Estimated time to complete: 30-120 minutes, depending on import method and number of products]
- Customize your Register app layout. Customize your product grid to choose the order in which products and categories display, customize the sequence in which order actions appear and adjust inventory notifications. [Estimated time to complete: 10 minutes]
- Set up any taxes, discounts and fees. Predefine any specific taxes, product discounts or fees for the items in your catalog. Doing this ahead of time lets you quickly apply them to your in-person orders when needed. [Estimated time to complete: 15 minutes]
Recommended:
- Check out our tips for using your product catalog. Review some best practices for building and maintaining your product catalog. [Estimated time to complete: 5 minutes]
|
4: Process orders and refunds
Test out the order (and refund) process before you take your first real order. Familiarize yourself with the process without the added pressure of a waiting customer.
Expand forHide more info
|
With your catalog ready to go, the order process is simple. Add products to the order, select a payment method and take the payment. You're done! You can also search for completed orders if you need to make adjustments, like refunding the order or reprinting a receipt.
Actions to take:
- Test out the different ways you can create and process orders. [Estimated time to complete: 10 minutes]
- Use the Register app to create orders with products in your catalog. (This is usually how you'll create customer orders.)
- Use the Terminal app to create orders without a catalog, by manually keying in a price.
- Use Manual Entry to enter a customized amount and manually enter credit card information.
- Refund your test transactions. You can refund transactions through your web browser, on the Smart Terminal and in the GoDaddy Commerce app (US only). When refunding in-person customers, you'll probably use the Smart Terminal. But it doesn't hurt to check out each method! [Estimated time to complete: 5-10 minutes]
Recommended:
|

5: Familiarize yourself with reporting
Is your business meeting expectations? Consistently review your business reports to stay up to date on your business's performance.
Expand forHide more info
|
You can keep an eye on your daily transactions, refunds and payouts (and more!) through your Smart Terminal and the GoDaddy Payments Dashboard in your web browser.
Your Dashboard also includes comparison graphs and charts, so you can easily see transaction amounts over time and compare your business's performance during specific timeframes (like comparing a specific month or quarter from this year and last year). This is an especially useful tool if you have a seasonal business.
Actions to take:
- Learn about available reporting. Check out the different types of reports that are available in your Dashboard or on your device. You can view transactions, orders and daily payouts, and filter by different variables (like orders processed by a specific employee). [Estimated time to complete: 10 minutes]
Recommended:
- Run some test reports. Different businesses have different reporting needs, but managing transactions and payouts will always be a high priority. Generate a Transactions Report and a Payout Report to familiarize yourself with the reporting fields and variables. [Estimated time to complete: 10 minutes]
|
6: Customize your Smart Terminal Flex
Create additional users, add your company logo, subscribe to third-party apps and connect accessories.
Expand forHide more info
|
Your Smart Terminal can be customized in the way that best serves your store. Add additional user accounts, connect compatible accessories (like a cash drawer, scanner or printer), and add your company name and logo to customer receipts and the Smart Terminal screen.
Subscribe to apps to tailor your Smart Terminal to your business needs. There are apps to create loyalty programs, apps for specific business types (like restaurants and salons), and more. If you're not sure if an app is the right fit, sign up for a free trial to see if it's what you're looking for before committing.
Actions to take:
- Create additional Smart Terminal accounts. Will multiple people be using the device? Give them each their own sign-in account! Add Smart Terminal users and assign specific access levels. They can then enter a passcode on the Smart Terminal to sign in with their account. [Estimated time to complete: 2-3 minutes per user]
- Customize your receipts and Smart Terminal screen. All publicity is good publicity, so get your name and logo out there! [Estimated time to complete: 30 minutes]
- Connect external accessories. Your Smart Terminal Flex can connect to a variety of peripherals via Bluetooth. Connect external accessories like a printer or cash drawer to optimize the way you use your Smart Terminal and manage your business. [Estimated time to complete: 10 minutes]
- Explore the App Center. Visit the App Center to learn about the apps that are available to download. Check out apps that are recommended for your business profile, or just browse through all available apps. Many apps include a risk-free trial, so you can try them out for free to see if they're a good fit. [Estimated time to complete: 20 minutes]
|
7: Check out our additional resources
Learn more about available resources as your store continues to grow and evolve.
Expand forHide more info
|
Congratulations! You’ve got your GoDaddy Payments account set up and your Smart Terminal Flex is connected and ready to go. You're ready to sell anything, anywhere. And we're ready to help.
You want your store to be successful – and we want that, too. We’re here to help whenever you need it.
|