Create and apply discounts
Create and manage custom product or order discounts from a GoDaddy Smart Terminal or through the Dashboard in your web browser. Discounts that are already associated with an item or catalog will be automatically applied during the order process.
You can also manually apply a discount to a specific product or order when you create the order in the Register app.
- To discount an item in a Commerce app order, manually enter a discount (amount or percent) to the final order price at checkout.
- For orders in a Managed Ecommerce for WordPress store, adjust the price using Checkout add-ons.
Create discounts in your Dashboard to apply to products or orders at checkout.
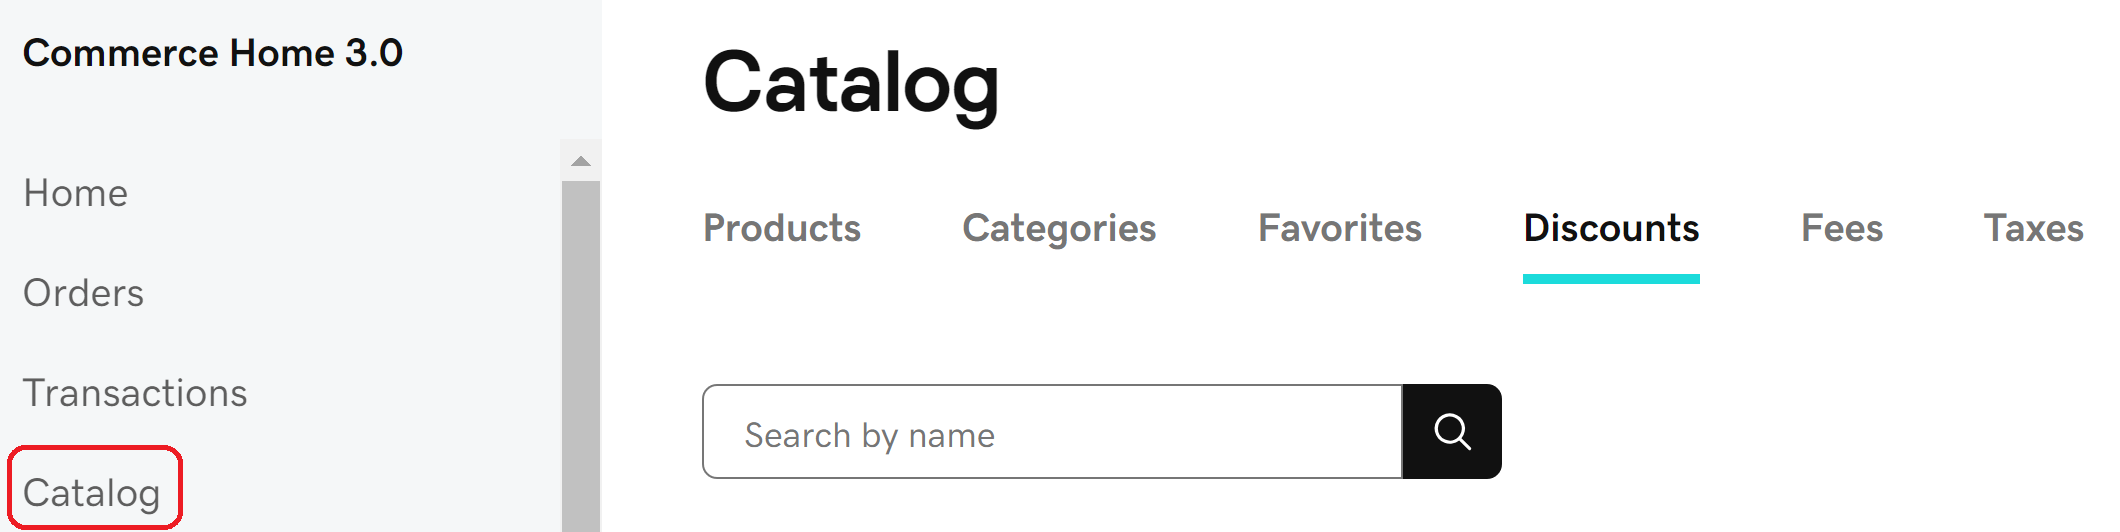
- Sign in to the Dashboard where you manage your GoDaddy Payments account (use your GoDaddy username and password).
- Select Catalog in the left-nav, and then select Discounts from the top-nav.
 Note: If you don’t see these options, follow these steps to set up discounts in the original GoDaddy Payments dashboard.
 - Select Create a discount.
- Fill in the Name and the discount Percent (%) or Amount ($).
- Under Available for, select which products can be discounted with this rate. Choose between All Products, Specific Categories (you’ll be prompted to select the categories) or None.
- Check the box next to Pre-tax to apply the discount before tax is applied to the order.
- Check the box next to Disable if you don’t want to apply the discount at checkout. (For example, you can turn on a discount for a limited-time sale, then disable it when the sale is over.)
- Select Create. You can edit the details for the discount later by double-clicking the entry in the discount list.
Create discounts on your Smart Terminal to apply to products in your catalog. Applicable discounts are automatically added during the order process.
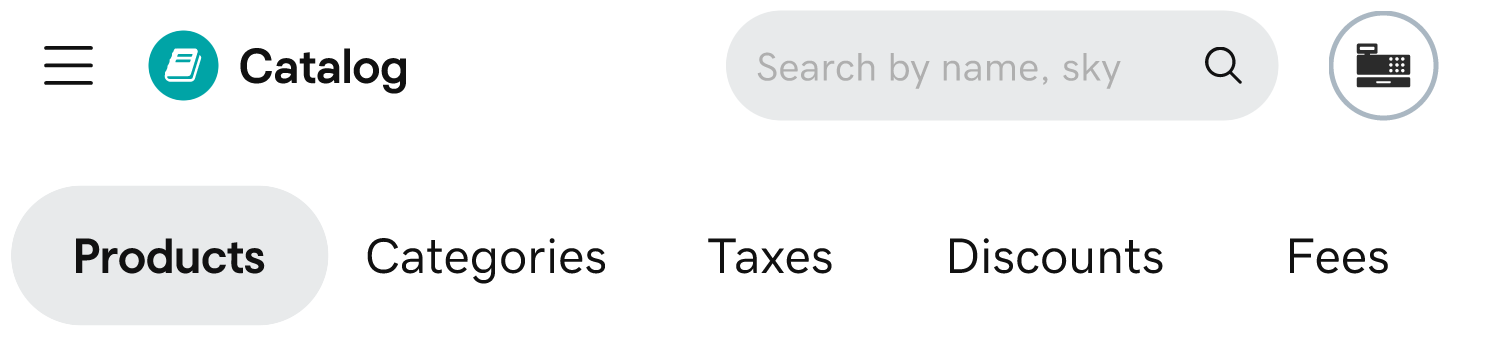
- On your Smart Terminal home screen, tap Catalog.
- Tap Discounts, then tap Add Discounts.
 Note: If your app header looks different than the image above, follow these steps to set up discounts in the original Catalog app.
 - Enter the Name and percent (%), or amount ($).
- Switch on the Pre-Tax toggle to apply the discount before tax is applied to the order.
- Under Context, select which products can be discounted with this rate. Choose between Apply to All, Category Level or Product Level. Select the specific categories or products if you set the discount to that level.
- Tap Add Discount. It will automatically apply to the products you’ve selected.
- To make changes to a discount, tap Discounts in the Catalog app, locate the discount in the list and tap
 Edit. You can change or delete it, or assign it to additional products as needed.
Discounts that are already associated with a product will be automatically applied during the order process. You can also manually apply a discount to a specific product or order when you create the order.
- On the Smart Terminal home screen, tap Register.
- Create an order.
- Manually apply a discount to the full order or to a specific product in the order:
- Full order: Tap Discount at the bottom of the screen. Apply either a Preset or Custom discount, then tap Confirm.
- Specific product: Tap Edit next to a recently added item or tap Order Details, then tap Edit next to the item. Tap +Add next to Discount, then apply either a Preset or Custom discount. Tap Confirm twice.
- Complete the transaction with the customer's desired form of payment.