Add categories to your catalog
To help keep your products organized, create categories in your product catalog and bundle different types of items together (for example, shirts or dresses).
You can create and manage product categories through the Dashboard in your web browser or through the Catalog app on your GoDaddy Smart Terminal. Once created, categories automatically sync across all GoDaddy Payments interfaces.
- Sign in to the Dashboard where you manage your GoDaddy Payments account (use your GoDaddy username and password).
- Select Catalog in the left-nav.
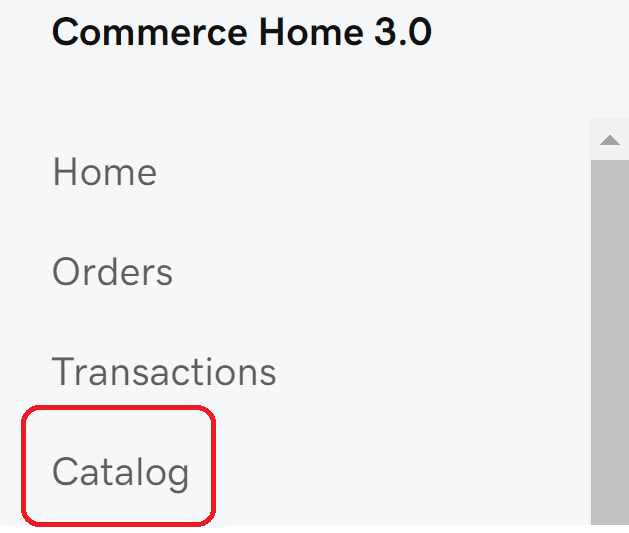 Note: If you don’t see this option in your left-nav, follow these steps to add products and product categories.
 - Select Categories from the top-nav, and then select Create Category.
- Enter a Category Name, Description and Category Link.
- Select Save to create the new category.
- Once saved, click and drag the
 Move icon next to each category to reorder them as needed.
 - To make a category a subcategory of another, select and drag it below or on top of the main category. Main categories can have 2 levels of subcategories. (For example, Clothing > Women’s Clothing > Tops).

- To add products to the category:
- Select Products to return to your product list.
- Select
 More, and then select Quick Edit.
 - Update the Category field for each product you want to include, and then select Save.
Note: You can also create new categories from within an individual product listing by selecting the product from your product list and then selecting Add New under Product Category.
- On your Smart Terminal home page, tap Catalog.
- Tap Categories, and then tap Add Category.
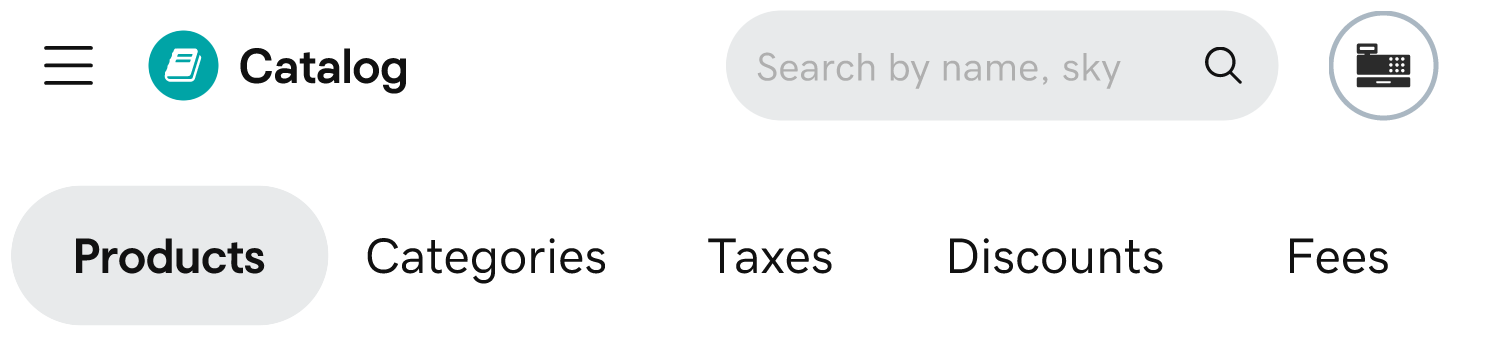 Note: If your app header looks different than the image above, follow these steps to add products and product categories in the original Catalog app.
 - Enter the basic Category info:
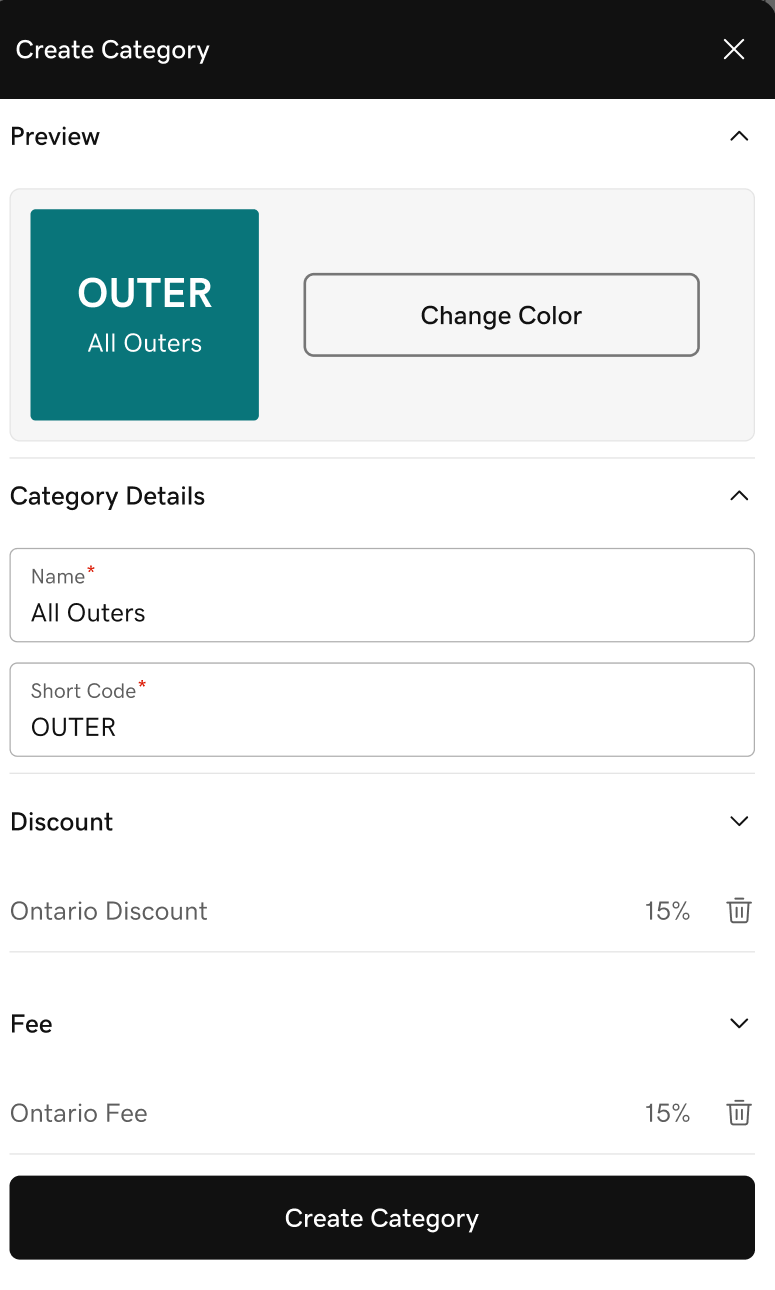
- Tap Change Color to customize the way the item appears in your product list.
- Add a Name and Short Code (button label on smart device apps). A short code is automatically created based on the name you enter, but you can change that to whatever you’d like.
- To add products to the category:
- Tap Add next to Add products into the category.
- Tap the checkbox next to each product you want to include, then tap Save Changes. (You can also assign a category when you add or edit a product in the Catalog app.)
- Review the discounts and fees currently associated with the category, and tap Delete to remove any that don’t apply. You can add or edit these in the Discounts and Fees sections of the Catalog app.
Note: Taxes can be applied to all products or to individual products. Tax rates can’t be applied at the category level.
- Tap Create Category. You can customize the product grid on your POS device to reorder the category display and change the order of products within a category.
More info
- Learn how to add products to your product catalog.
- Check out some best practices for maintaining your product catalog.
- Create an order on a GoDaddy Smart Terminal.