Manage your GoDaddy Payments customers
Add customer files to retain order history and associate customers to invoices and orders when you create them. You can edit, merge or delete existing customer files and export a list of all of your customers.
Select a task to learn how it's done:
- Add customers to the store
- Edit customer profile information
- Add or remove customer payment cards
- View customer orders
- View and update customer notes
- Delete customer files
- Merge customer files
- Export customer information
Add customers to the store
In the GoDaddy Payments Dashboard in your web browser, add customers to your store for easy access later when you create invoices or fulfill in-person orders. Customers that process a transaction with GoDaddy Payments (online store, invoice, etc.) are automatically added to your Customer list.
You can manually add customers individually or add in bulk from a .csv file or list.
- Sign in to the Dashboard where you manage your GoDaddy Payments account (use your GoDaddy username and password).
- Select Customers.
- Select Add Customers, then select how you’d like to add them. Follow the onscreen instructions to add customers for that method:
- Add manually, one by one: Enter customer details in the Email, Phone, First Name and Last Name fields. To add more customers, select Add and repeat the process. Once you’re done adding customers, select Add and Close.
- Upload a .csv file: Use the .csv file in the provided field or select Upload from your device and choose the correct file. Select Import File.
- Copy and paste an existing list: Add a list of email addresses into the provided field. The email addresses must be separated by a comma, semi-colon, or space. Select Add and Close.
Edit customer profile information
Update a customer’s name, address and contact information.
- Sign in to the Dashboard where you manage your GoDaddy Payments account (use your GoDaddy username and password).
- Select Customers.
- Use the filters or search to locate the customer in your list.
- In the far-right column, select
 More and then select Edit Profile.
 - Update the customer’s profile info as needed, including name, email address, phone number, company information and address.
- Select Update and Close.
Add or remove customer payment cards
Customers have the option to save their payment cards when creating an order, or you can manually add payment cards to their customer file. Saved cards can be easily applied to the customer’s future orders. Cards on file can also be deleted from the customer file if needed.
- Sign in to the Dashboard where you manage your GoDaddy Payments account (use your GoDaddy username and password).
- Select Customers.
- Use the filters or search to locate the customer in your list.
- Select a customer name to open a page with their Activity, Notes and Payments.
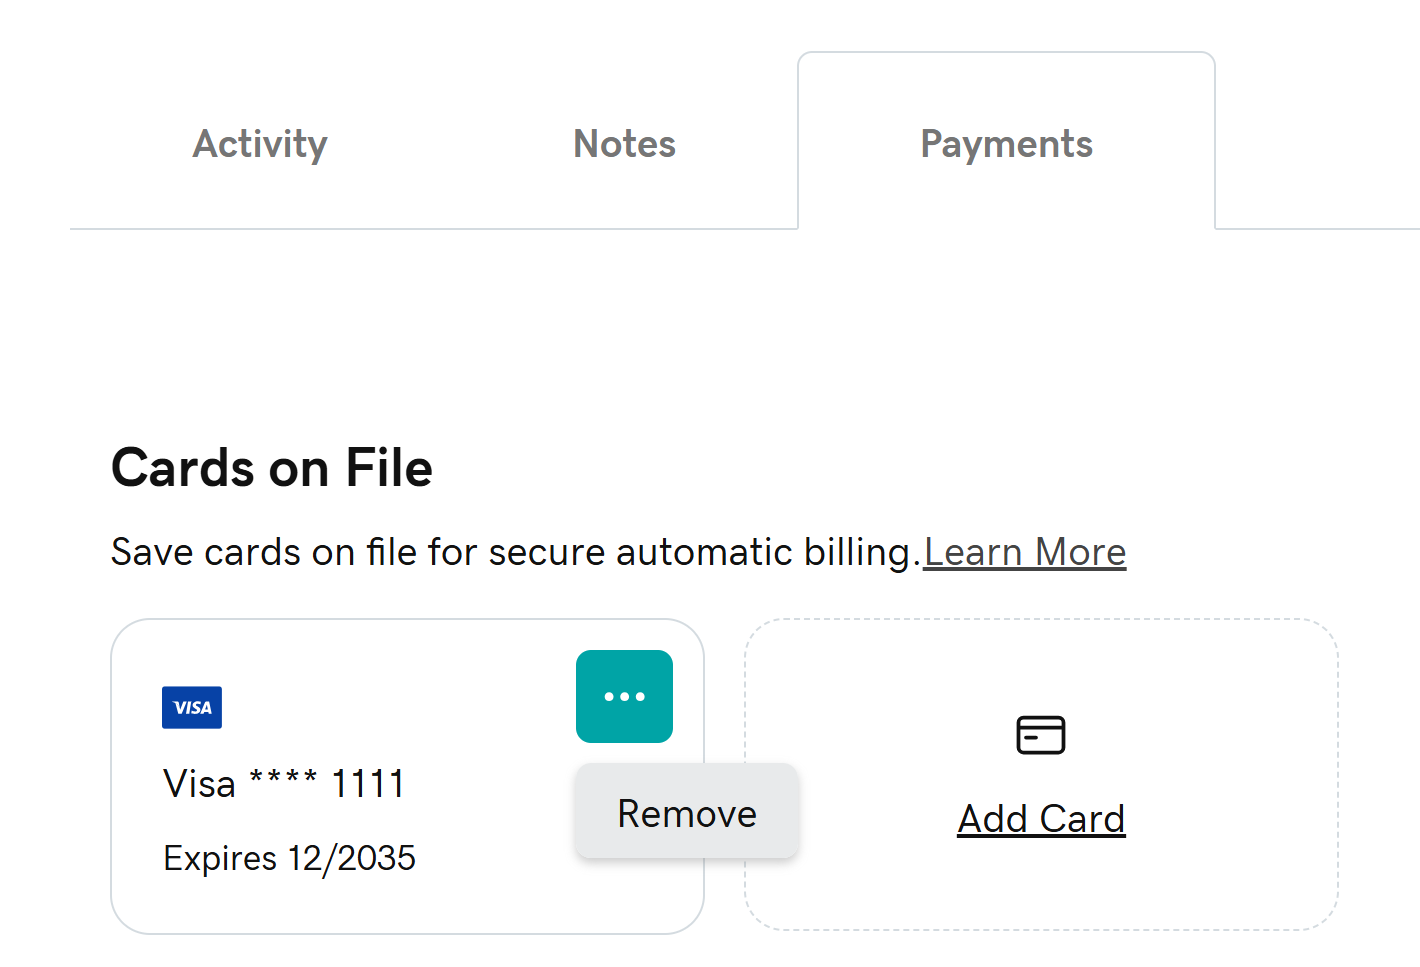
- Under Payments, manage the customer's payment cards as needed:
- Add a card: Select Add Card. Enter the required card information, then select Add Card to save it to the customer file.
- Remove a card: Saved cards display the card’s last 4 digits and expiration date. Locate the card you want to remove and select More. Select Remove twice to delete it from the customer’s file.
View customer orders
Review all GoDaddy Payments orders, invoices and transactions associated with a customer.
- Sign in to the Dashboard where you manage your GoDaddy Payments account (use your GoDaddy username and password).
- Select Customers.
- Use the filters or search to locate the customer in your list.
- Select a customer name to open a page with their Activity, Notes and Payments.
- Under Activity, a list of all customer transactions will appear. Select a transaction to see the details.
View and update customer notes
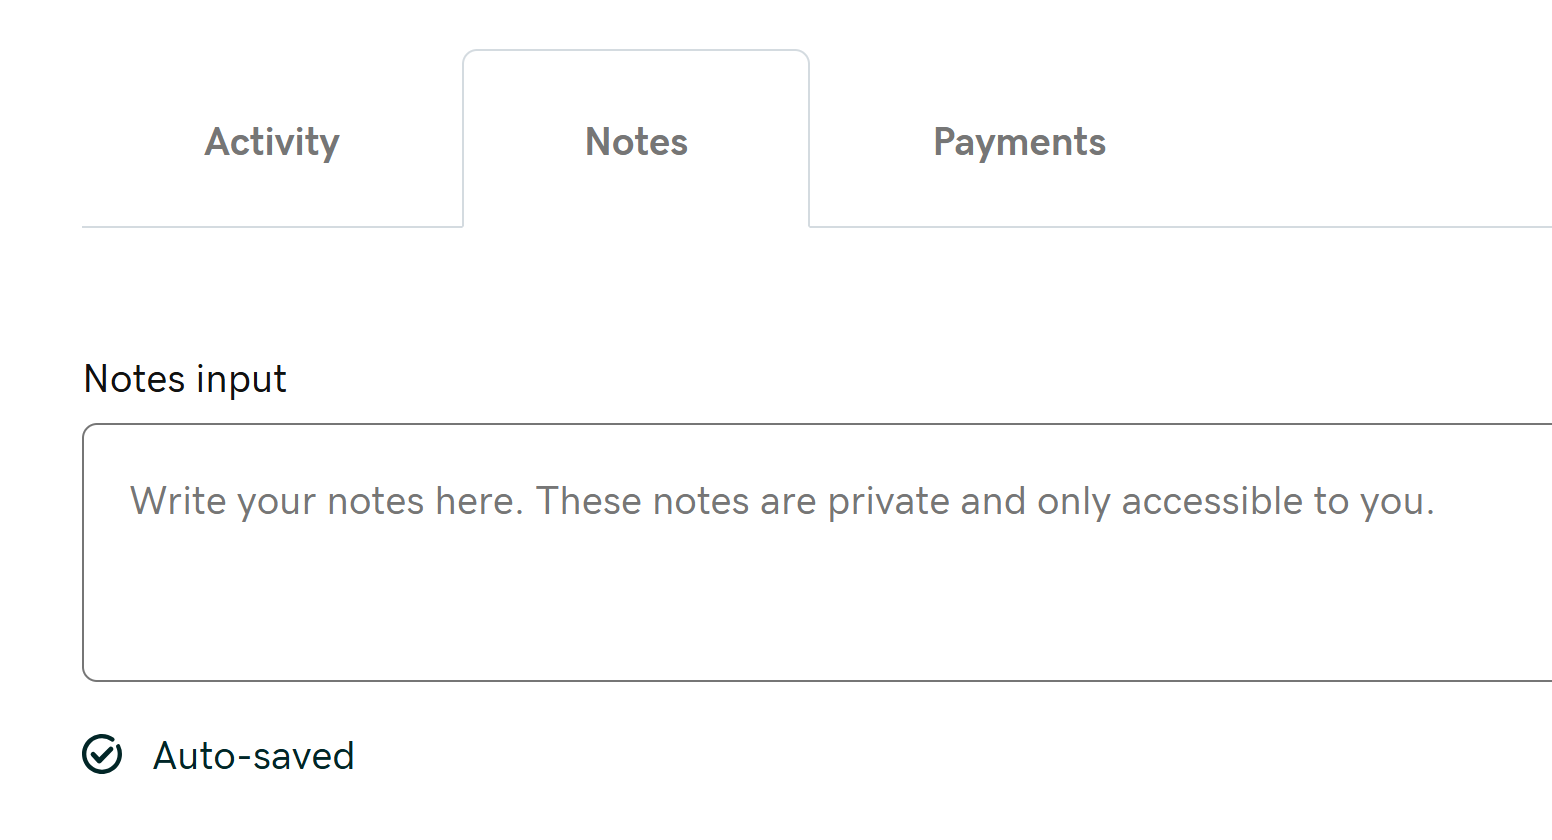
Add or change notes on a customer file. Notes can only be seen by you – customers don’t have a way to view notes left in their file.
- Sign in to the Dashboard where you manage your GoDaddy Payments account (use your GoDaddy username and password).
- Select Customers.
- Use the filters or search to locate the customer in your list.
- Select a customer name to open a page with their Activity, Notes and Payments.
- Under Notes, add a note or change an existing note. Updates are saved automatically.
Delete customer files
Delete a customer file from your records if you no longer need to have access to their history or if they request to be removed from your files. The customer’s transactions and orders will still appear in your GoDaddy Payments history, but will no longer be associated with a specific customer file.
- Sign in to the Dashboard where you manage your GoDaddy Payments account (use your GoDaddy username and password).
- Select Customers.
- Use the filters or search to locate the customer in your list.
- In the far-right column, select More and then select Delete.
- Review the information and then select Delete again to remove the customer file.
- (Optional) Customer files are still available for 30 days after deletion and can either be restored or permanently deleted within that 30-day window. After 30 days, the file is permanently deleted.
- Restore a customer file: Under Customers, change the filter to Recently deleted. Locate the file you want to restore and select More. Select Recover twice to restore the file.
- Permanently delete a file: Under Customers, change the filter to Recently deleted. Locate the file you want to delete and select More. Select Permanently Delete. Review the information and then select Delete to permanently delete the file. Once permanently deleted, the file cannot be recovered.
- Restore a customer file: Under Customers, change the filter to Recently deleted. Locate the file you want to restore and select
Merge customer files
Merge duplicated customer files together to combine customer info, saved payment cards and associated transactions under one customer file.
You can unmerge a merged file if you need to separate them again. However, secondary files will retain the profile info (name, email address, etc.) for the merged account only.
- Sign in to the Dashboard where you manage your GoDaddy Payments account (use your GoDaddy username and password).
- Select Customers.
- Use the filters or search to locate the customer files to merge.
- Select the box next to each file, beginning with the file you want to merge the files into. The email and contact info will be retained for the first file you select.
- In the upper-right corner, select More and then select Merge Customers.
- Make sure the email address is correct for the file you’re merging to, then select Merge. All activity and payment cards will be combined within the target customer file and the duplicate file(s) will be removed.
- (Optional) If you need to separate the accounts again, locate the merged file and select More. Select Unmerge. This will separate the accounts again, with their respective history and payment cards.
Note: After unmerging the files, the profile info (name, email, etc.) for the secondary file(s) will still match the account it was merged into. If you need to change that, you can edit the profile info. The original info will not be accessible, so you may need to verify it with the customer.
Export customer information
Export individual customer files or your full customer list into a .csv file.
- Sign in to the Dashboard where you manage your GoDaddy Payments account (use your GoDaddy username and password).
- Select Customers.
- Check the box next to the files you want to export, or check the box at the top of the list to select all customer files.
- In the upper-right corner, select More and then select Export twice.
- When the .csv file is ready, you’ll receive an email with a link to open the file. For security purposes, the file will only be available for 24 hours. Open the file and save it wherever you’d like to have access.
More info
- Add new customers or associate existing customers to invoices.
- Review all of your GoDaddy Payments orders.