Verify domain ownership in another GoDaddy account
To use your Microsoft 365 email address with a domain in a different GoDaddy account, start by adding the TXT verification record to confirm that you own the domain. After the domain is confirmed, add the rest of your Microsoft 365 DNS details to set up your email delivery.
Required: You must be an admin to complete these steps.
Step 1: Find your TXT record
- Sign in to your Email & Office Dashboard (use your GoDaddy username and password).
- At the top of your dashboard, you’ll see a banner saying your email can't receive mail yet. To see your DNS records, select Help me fix this.
- If you do not see this banner, next to a user, select Manage, and then Set Mail Destination. Use the TXT record that has a value that contains MS=msXXXXXXXX (for example, MS=ms12345678).

- If you do not see this banner, next to a user, select Manage, and then Set Mail Destination. Use the TXT record that has a value that contains MS=msXXXXXXXX (for example, MS=ms12345678).
Step 2: Add and update your DNS records
- Sign in to your GoDaddy Domain Portfolio. (Need help logging in? Find your username or password.)
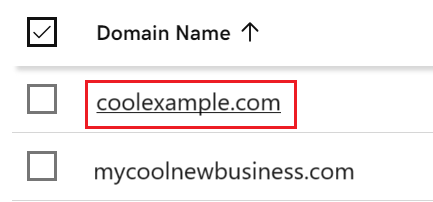
- Select an individual domain to access the Domain Settings page.

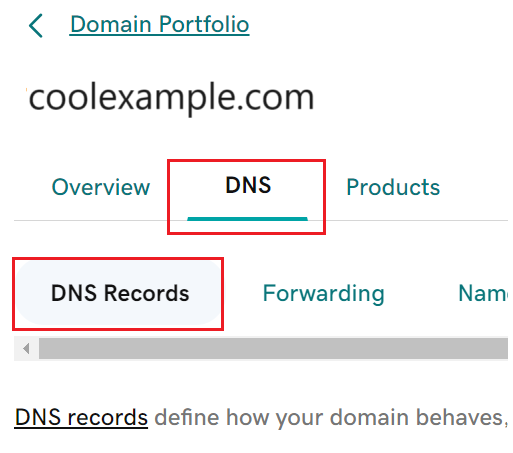
- Select the DNS to view your DNS records.

- Enter your TXT record:
- Select Add New Record.
- Under Type, select TXT.
- Enter the details from your Email & Office Dashboard.
- Select Save.
- To verify your TXT record, go back to the Email & Office Dashboard, and then select I set my TXT record. Check, please!.
When your domain ownership's verified, you'll see the rest of your Microsoft 365 setup instructions. Follow the steps and set your Microsoft 365 mail destination for your domain.