Cập nhật cài đặt email của tôi thành Exchange trong Email Samsung trên Android
Nếu bạn đã di chuyển tài khoản email POP hoặc IMAP sang Microsoft 365, hãy xuất dữ liệu đã lưu cục bộ trước đó và thiết lập tài khoản mới với cài đặt Exchange. Sử dụng Exchange đảm bảo dữ liệu của bạn - bao gồm thư, danh bạ và lịch - luôn được kết nối với email của bạn và có thể khôi phục từ máy chủ bất cứ khi nào cần.
Bắt buộc: Nếu bạn đang sử dụng cài đặt POP, dữ liệu như thư, thư mục, lịch và liên hệ của bạn chỉ tồn tại trên chương trình email của bạn và thiết bị bạn sử dụng để kiểm tra email của mình. Trước khi chuyển sang cài đặt Exchange, hãy sao lưu dữ liệu để bạn có thể nhập dữ liệu vào tài khoản của mình hoặc tham khảo dữ liệu sau này. Để được hướng dẫn, vui lòng tham khảo nhà cung cấp dịch vụ khách hàng của bạn.
- Mở Android của bạn, mở Email.
- Chạm vào
 Menu , và sau đó
 Cài đặt .
 - Nếu bạn đã sẵn sàng xóa tài khoản POP / IMAP, hãy chạm vào địa chỉ email của bạn, sau đó chạm vào Xóa , rồi lại Xóa để xác nhận.
- Để thêm tài khoản Exchange của bạn, chạm vào Thêm tài khoản .
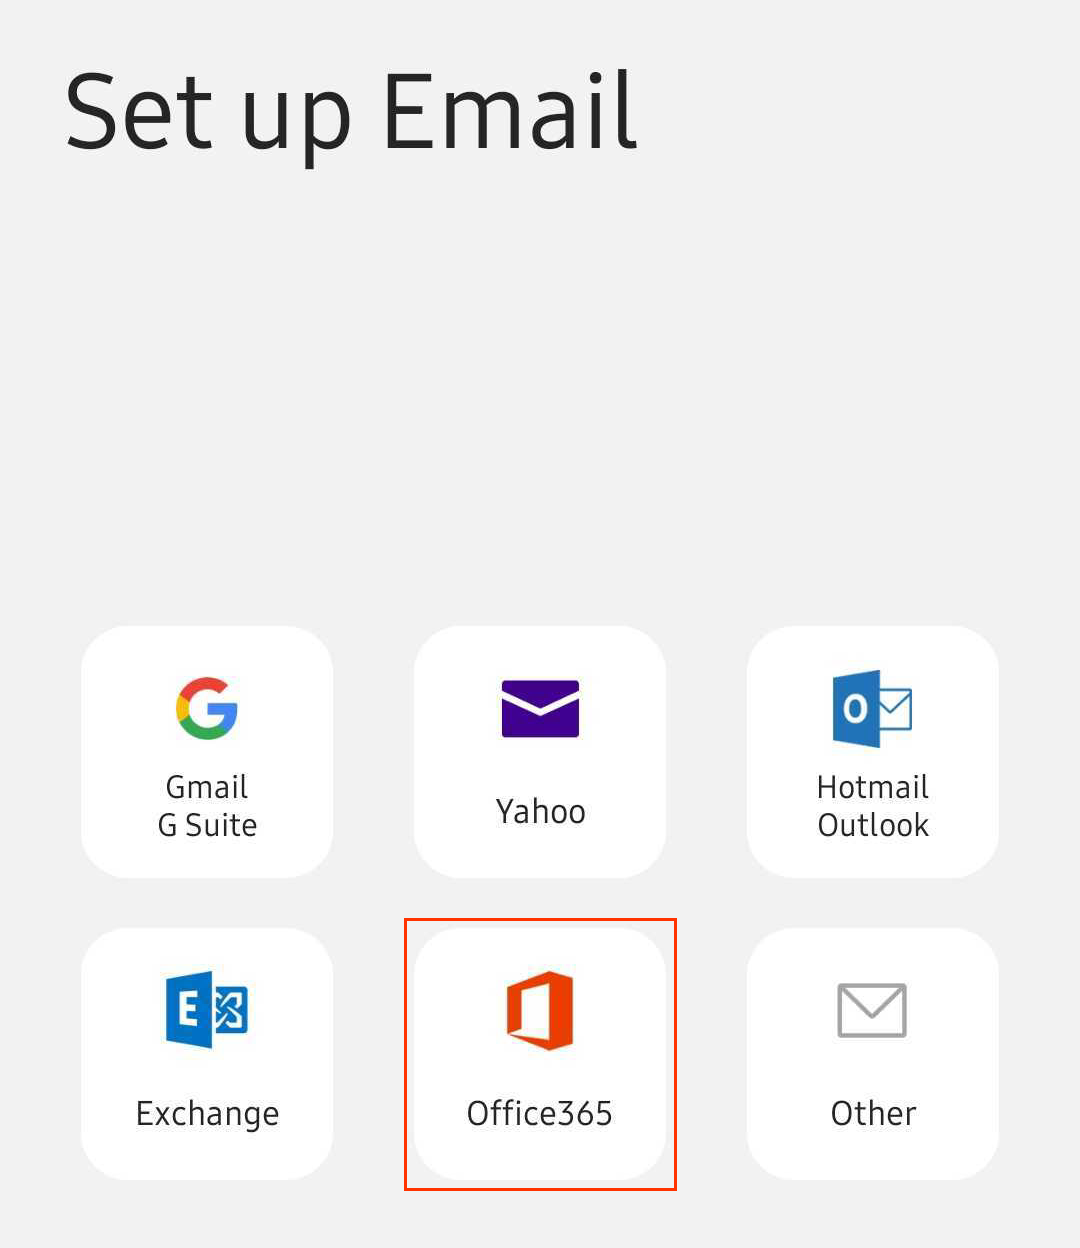
- Chạm vào Office365 .
- Nhập địa chỉ email Microsoft 365 của bạn, rồi chạm vào Tiếp theo .

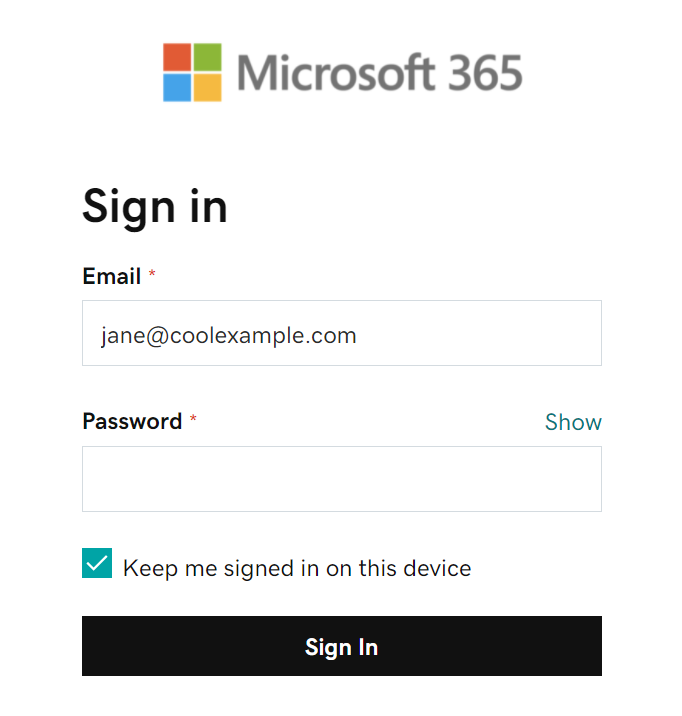
- Nhập email và mật khẩu Microsoft 365 của bạn, rồi chạm vào Đăng nhập . Bạn có thể cần chọn loại tài khoản của mình là Cơ quan hoặc Trường học , không phải Cá nhân , để tiếp tục.
- Nếu quản trị viên của bạn đã bật xác thực đa yếu tố (MFA), hãy xác minh tài khoản của bạn hoặc cài đặt ứng dụng Trình xác thực .
- Tên người dùng : Địa chỉ email Microsoft 365 của bạn
- Mật khẩu : Mật khẩu email Microsoft 365 của bạn
- Máy chủ : outlook.office365.com
- Miền \ tên người dùng : \ [địa chỉ email Microsoft 365] (ví dụ: \ jane@coolexample.com )
- Nếu bạn được hỏi có cố đăng nhập vào Samsung Email hay không, hãy chạm vào Tiếp tục .
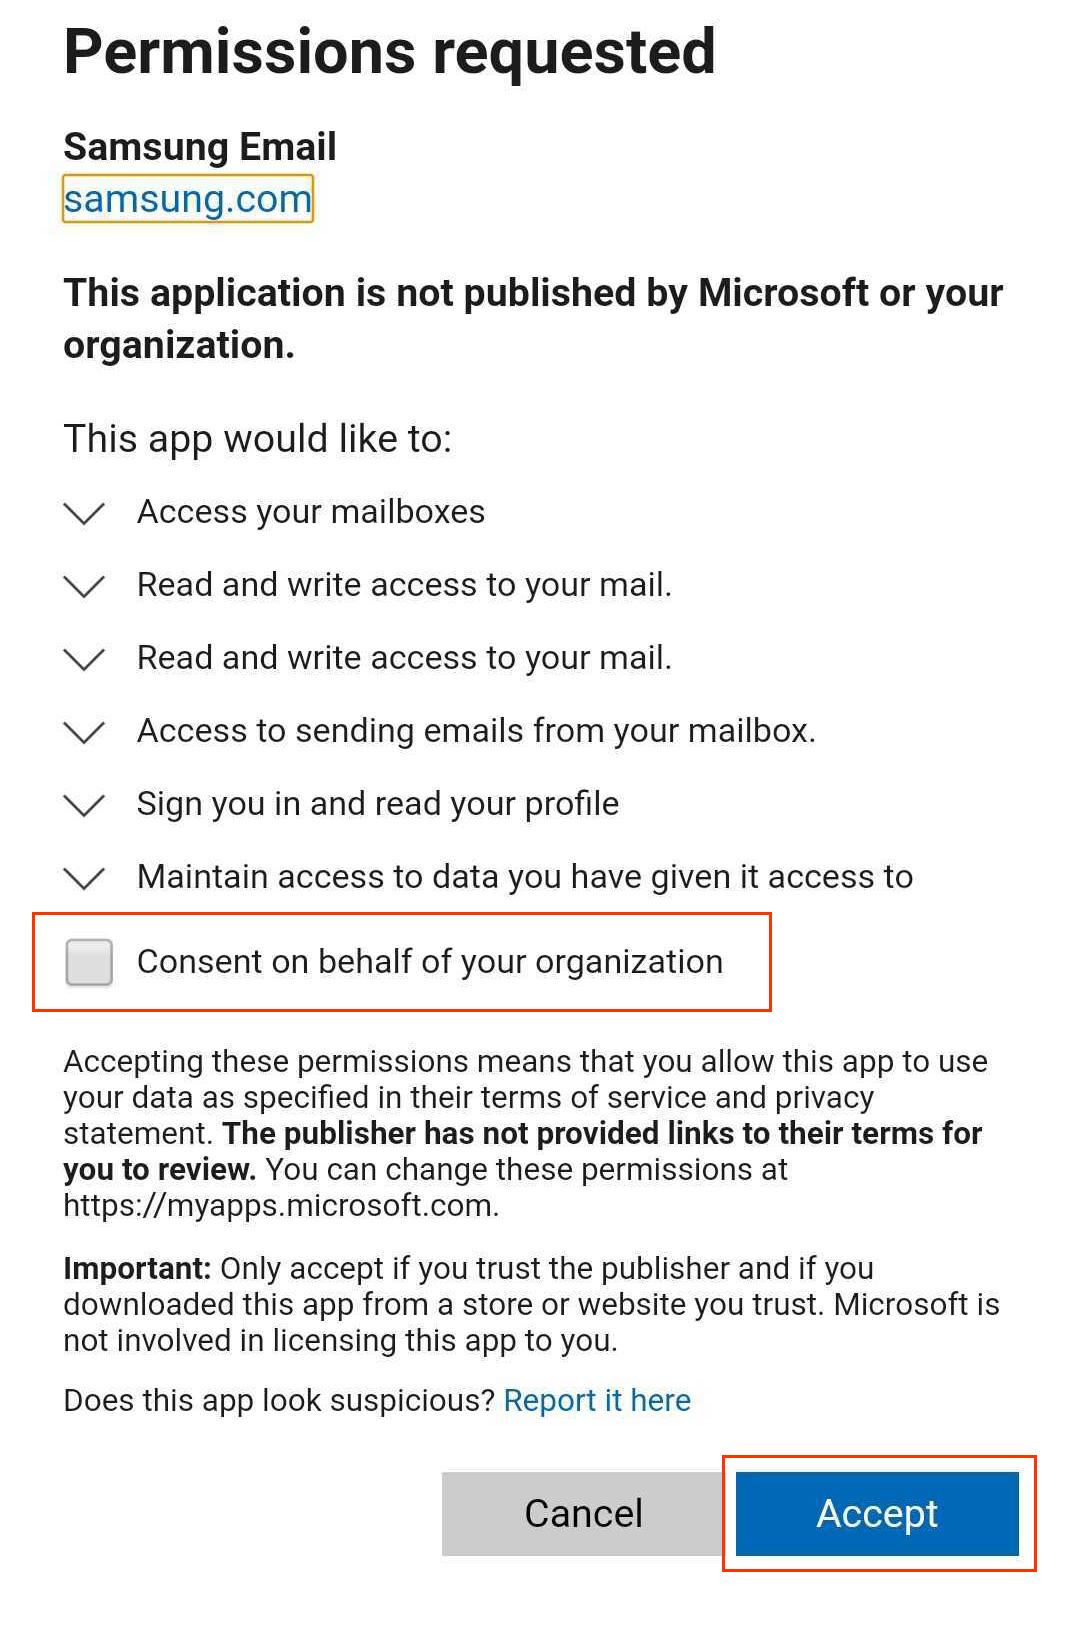
- Khi bạn được yêu cầu cấp quyền, hãy chạm vào Chấp nhận .
- Nếu bạn là quản trị viên, hãy chạm vào hộp kiểm bên cạnh Sự đồng ý thay mặt cho tổ chức của bạn để những người dùng khác của bạn không thấy lời nhắc này.
- Nếu bạn được yêu cầu áp dụng cài đặt bảo mật, hãy chạm vào Áp dụng.
- Ứng dụng Email sẽ tự động kiểm tra cài đặt của bạn. Trong Cài đặt thủ công, chạm vào Xong . Bạn có thể quay lại và chỉnh sửa các cài đặt này bất cứ lúc nào.

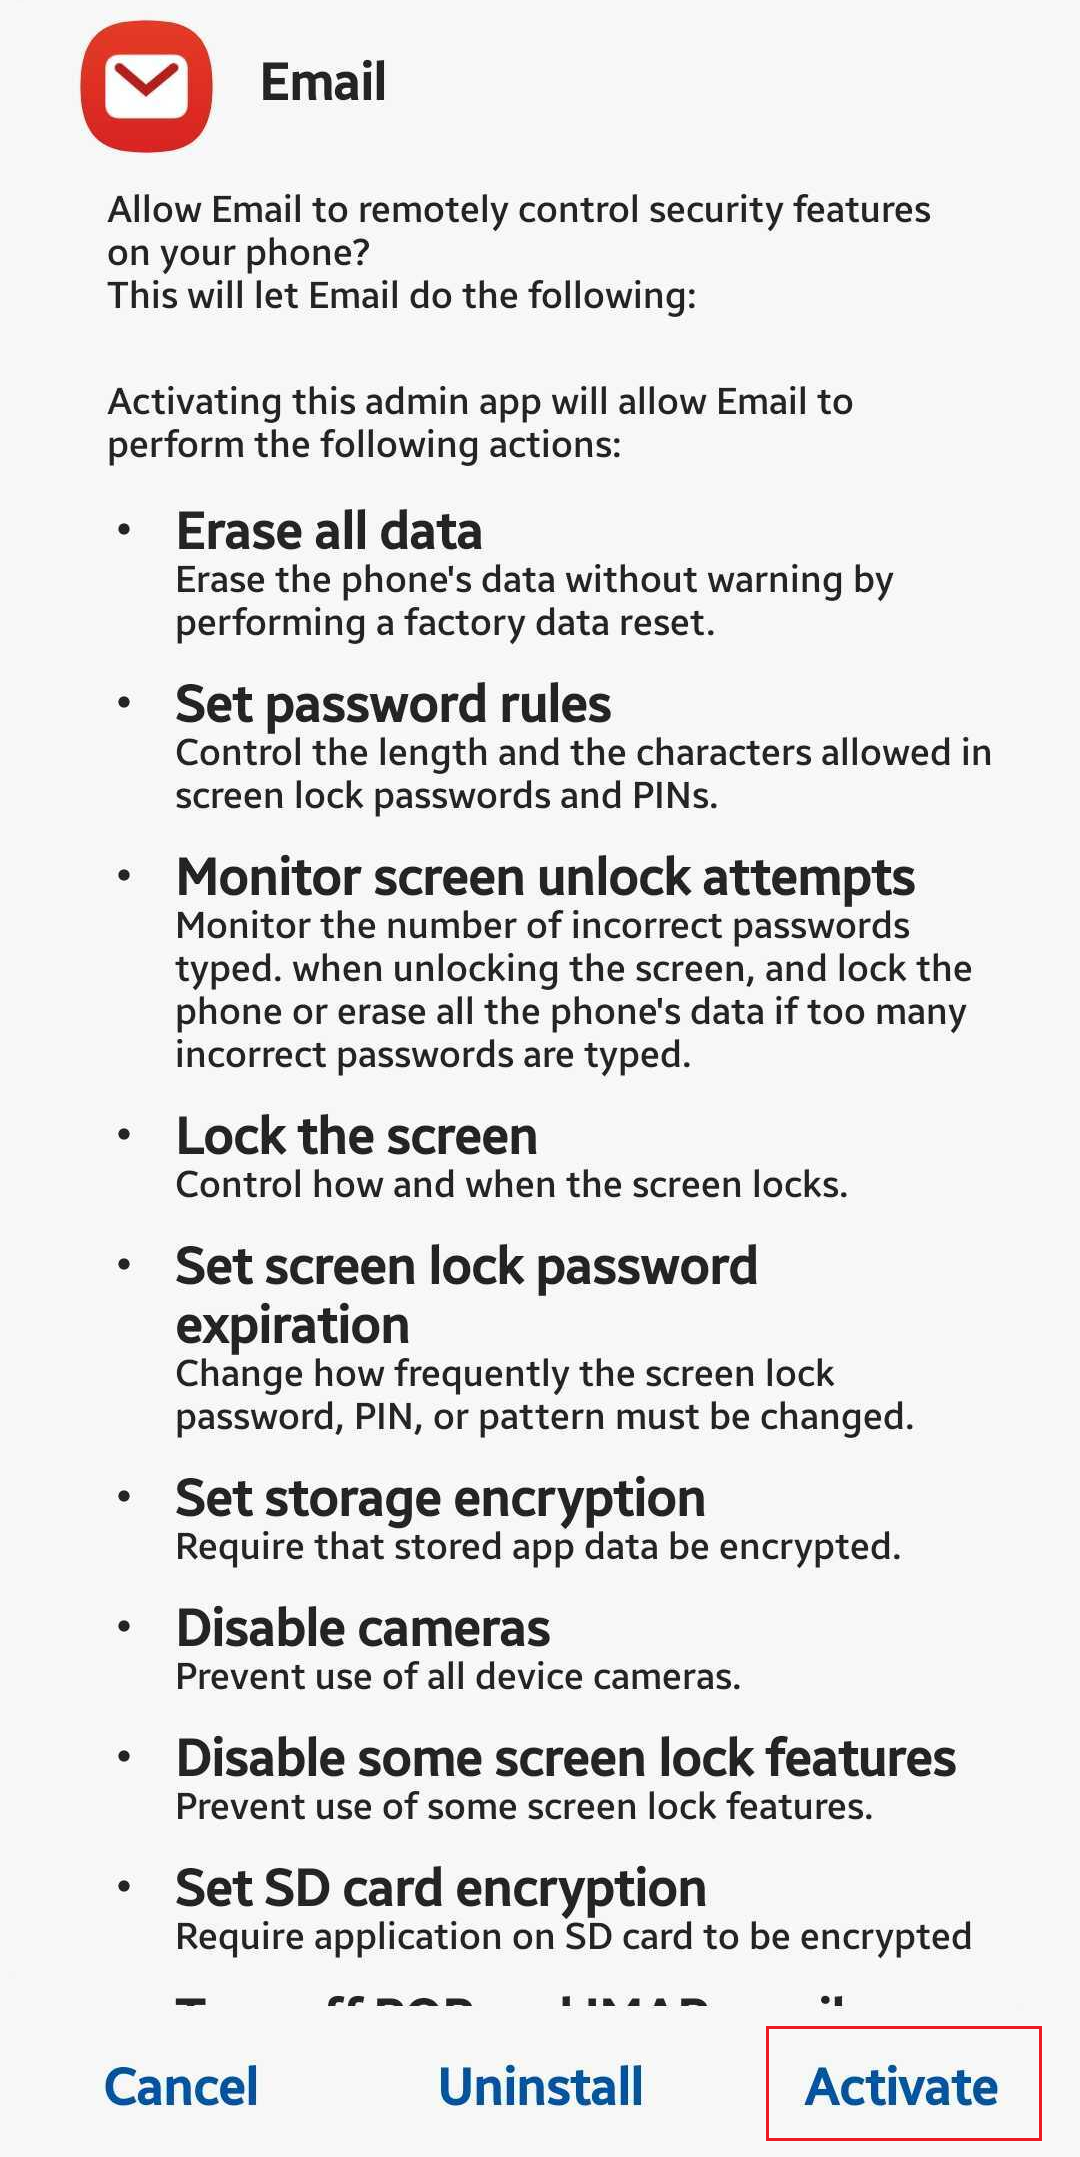
- Nếu bạn được yêu cầu kích hoạt các tính năng bảo mật trên thiết bị của mình, hãy chọn Kích hoạt .
- (Tùy chọn) Chỉnh sửa tên tài khoản của bạn.
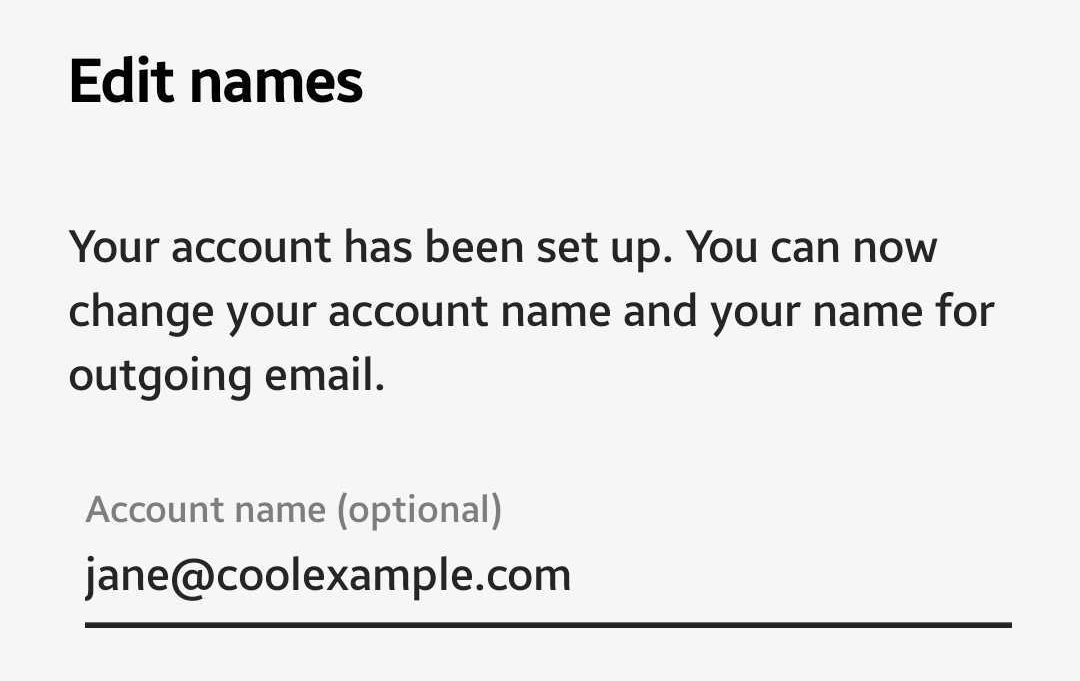
- Chạm vào Xong . Tên này hiển thị cho người nhận khi bạn gửi email, vì vậy bạn có thể muốn sử dụng tên doanh nghiệp của mình ở đây.
Lưu ý: Nếu quên mật khẩu email, bạn có thể đặt lại .
Lưu ý: Nếu Microsoft không thể tìm thấy tài khoản của bạn, bạn sẽ được yêu cầu nhập các chi tiết của mình theo cách thủ công:
Email của bạn hiện đã được thiết lập làm tài khoản Exchange!
Các bước liên quan
- Nếu Microsoft không thể tìm thấy tài khoản của bạn và bạn được yêu cầu nhập chi tiết theo cách thủ công, hãy đảm bảo bản ghi CNAME Tự động phát hiện có trong cài đặt DNS của bạn. Nếu không, hãy thêm hồ sơ CNAME .
Xem thêm thông tin
- Nếu bạn sử dụng các chương trình email khác, hãy thiết lập Exchange trên chúng.