Update links on my Link in Bio
Update your Link in Bio links whenever you need to, keeping your site fresh and current. Add or delete links, update link text and URLs, change the order links appear in, and change the background color of your link text boxes or the entire links content block.
- Sign in to your GoDaddy Studio app.
- At the bottom of the screen, tap Link in Bio. Select the site you want to update (you can create up to 3).
- Tap on the links section to open it in the editor.
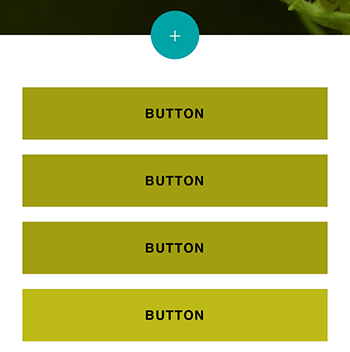
- Tap the button you want to update or delete.
- To delete the button, tap Delete at the bottom of the screen, and then tap Delete again to confirm.
- To update the button label, tap inside the Button Label box and use your device keyboard to update the label text.
- To update where the button links to, tap Link to. You can link to a page on your site, an external website, a phone number or an email address.
- Select an option and then fill in the details for that option.
- When you're done, tap Done, and then close the section and return to your Link in Bio by tapping X
- Tap Publish in the upper-right corner. Your updates will be visible immediately.
- Go to your GoDaddy product page.
- Scroll down, expand Websites + Marketing and select Manage next to your site.
- Select the section containing your links.
- In the panel on the right, select a button to edit it.
- To delete the button, select Delete at the bottom of the panel, and then select Delete again to confirm.
- To update the button label, select the Button Label box and use your keyboard to update the label text.
- To update where the button links to, select the Link to dropdown menu. You can link to a page on your site, an external website, a phone number or an email address.
- Select an option and then fill in the details for that option.
- Your changes are saved automatically. Select Preview to see the results, and when you're ready to make the changes public, publish your site.
