Create and apply taxes (In Person page)
Create and manage taxes through the GoDaddy Payments Dashboard in your web browser. You can then apply taxes to specific products or orders during an in-person transaction.
The steps below cover how to apply taxes through the original In Person overview of the GoDaddy Payments dashboard. If you’re using the updated dashboard (displays Catalog in the left-nav, then Taxes in the top-nav), check out our info for adding taxes in the updated web browser dashboard.
Note: The updated dashboard was released in January 2024 for new GoDaddy Payments merchants in the US. Access will expand to all GoDaddy Payments merchants later this year.
- Sign in to your In Person Overview page (use your GoDaddy username and password).
- Select Catalogs. (You'll need to create a catalog for your Smart Terminal if you haven’t already.)
- Select a catalog where you want to apply taxes.
- To apply tax to an individual product, select the item, then select Edit taxes and check the box next to the tax you want to apply. If you apply taxes to a catalog, don’t add additional taxes at the product level – you don’t want to charge tax twice!
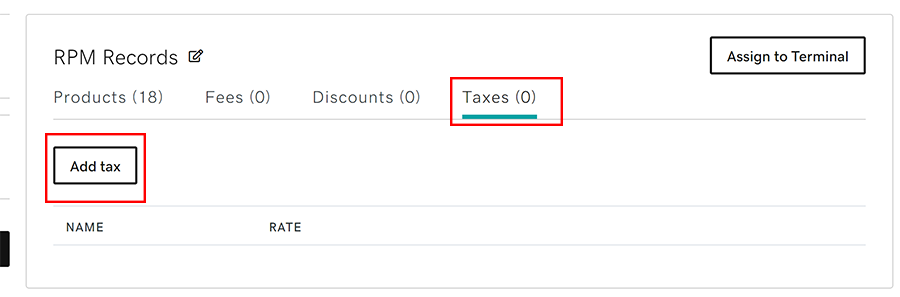
- Below your catalog’s name, select Taxes, and then Select Add tax.
- Either create a new tax rate or apply an existing tax rate to items in your catalog:
- To create a new tax, select Create Tax and fill in the Name, Type (such as sales tax, alcohol tax, etc) and Percent(%) or Amount ($) and select Save.
- To use an existing tax, select Add existing, and select the box next to the tax you want to add, then select Add.