Start using the GoDaddy Smart Terminal Flex
Once you’ve set up GoDaddy Payments, use the GoDaddy Smart Terminal Flex to create and process in-person orders, sync with your online catalog, add additional users, view your transaction and payout history, and strengthen your brand with customized receipts. You can also tailor your device to your business needs with additional apps from the App Center.
This series walks you through the critical steps to set up your Smart Terminal Flex, test it out and and get ready to process orders!
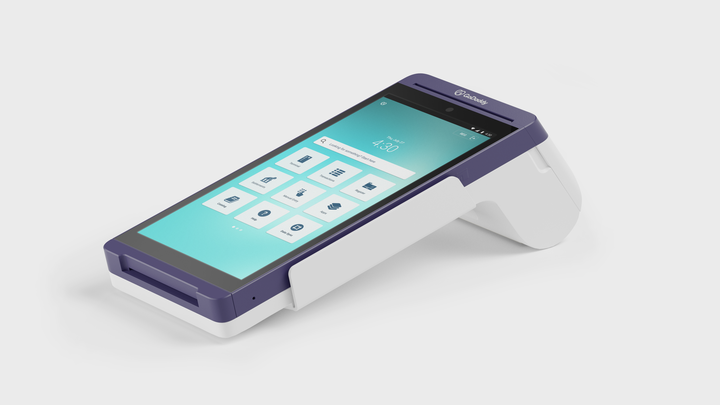
1: Unbox the Smart Terminal Flex
Remove all items from the packaging and familiarize yourself with the system ports and components.
2: Charge the Smart Terminal Flex
Once you have your Smart Terminal Flex, plug it in, charge it up and turn it on.
3: Activate the Smart Terminal Flex
Go through the first-time setup process, including Wi-Fi connection and 6-digit Passcode entry/setup.
4: Complete a test transaction
Process and refund a test transaction with your Smart Terminal Flex.
5: Learn more about using the Smart Terminal Flex
You’re up and running! Learn how to create a product catalog, add additional users, subscribe to apps, and explore some of the other features you’ve got access to.