Customize my branding and logo for Advanced Email Security
As an admin, customize the way users access and view their Advanced Email Security dashboard.
- Sign in to your GoDaddy Advanced Email Security page (use your GoDaddy username and password).
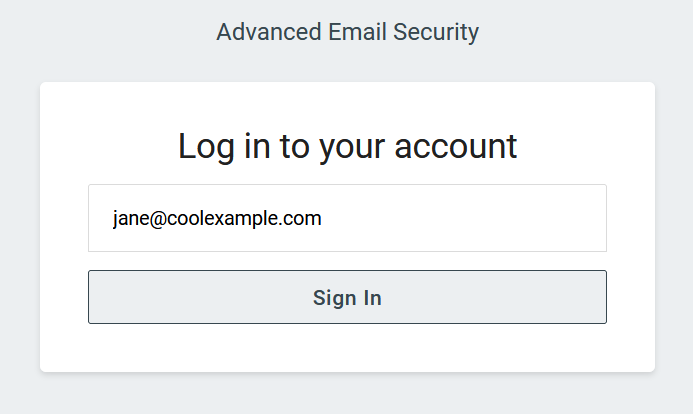
- Select Sign in to Advanced Email Security. The sign-in page will open.
- Enter your email address, select Sign In, and then Sign In With Microsoft.
- Follow the onscreen prompts to sign in with your Microsoft 365 email address and password. The Advanced Email Security portal will open.
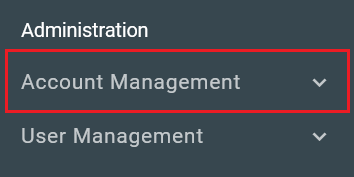
- On the leftmost side, select Account Management.
- Select Branding.
Select which setting you'd like to customize:
Company logo
Add your company's logo to the Advanced Email Security sign-in screen, user interface, quarantine digest and encryption notifications.
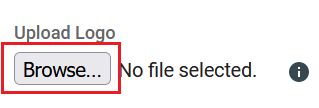
- Under Upload Logo, select Browse.
- Choose your logo image file, and then select Open. Your logo will be uploaded.
- To save your uploaded logo, select Save.
Now your company's logo will appear throughout your Advanced Email Security experience.
Color scheme
Customize the color of your Advanced Email Security sign-in page and user interface.
- Under Color Scheme, choose the color you want to use.
- To apply you new color scheme, select Save.
Your Advanced Email Security dashboard will now use your selected color scheme.
From name
Change the display name shown on the quarantine digest, encryption notifications, welcome email and password reset emails.
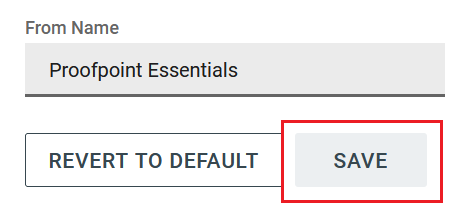
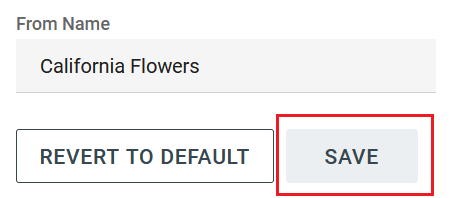
- Under From Name, enter a name.
- To save your display name, select Save.
Your custom display name will appear throughout your Advanced Email Security experience.
Branded sign-in page
Access your new branded sign-in page with a custom URL. This will display your newly-uploaded logo and selected color scheme.
- Sign in to your GoDaddy Advanced Email Security page (use your GoDaddy username and password).
- Select Sign in to Advanced Email Security. The sign-in page will open.
- Enter your email address, select Sign In, and then Sign In With Microsoft.
- Follow the onscreen prompts to sign in with your Microsoft 365 email address and password. The Advanced Email Security portal will open.
- The URL in the web browser will change once you have successfully signed in.
- Copy the ID number from the URL displayed in your web browser.
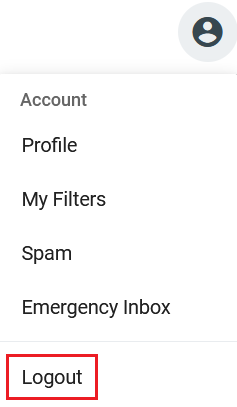
- In the upper-right corner, select
 Account, and then select Logout.
- Copy the URL from your web browser after signing out. This URL will be slightly different from the previous step.
- Add ?eid= to the ID number that you copied in step 2 to the end of the new URL.
Example: If the URL of your sign-in page is https://us4.proofpointessentials.com/i/1234567/dashboard, 1234567 is the ID number.
Example: https://us4.proofpointessentials.com/app/login.php
Example: http://us4.proofpointessentials.com/app/login.php?eid=1234567
Share this URL with all your users and ask them to bookmark it for a branded sign-in experience.